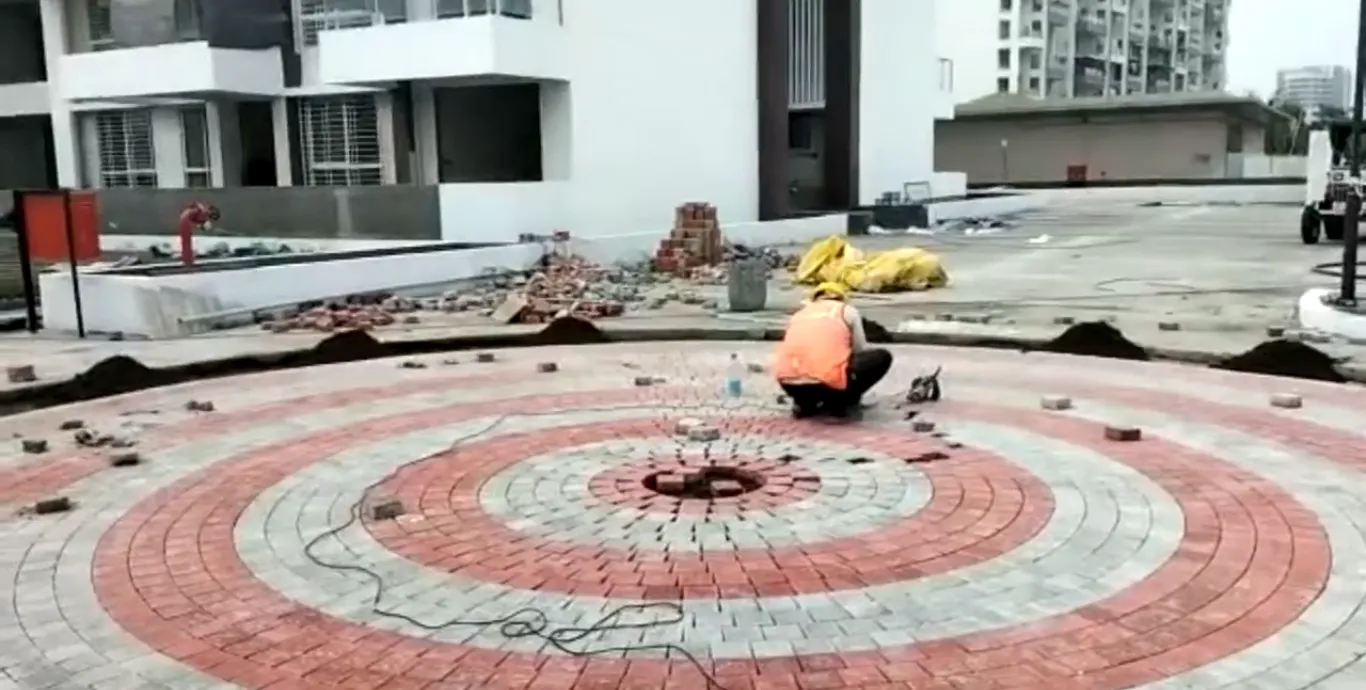
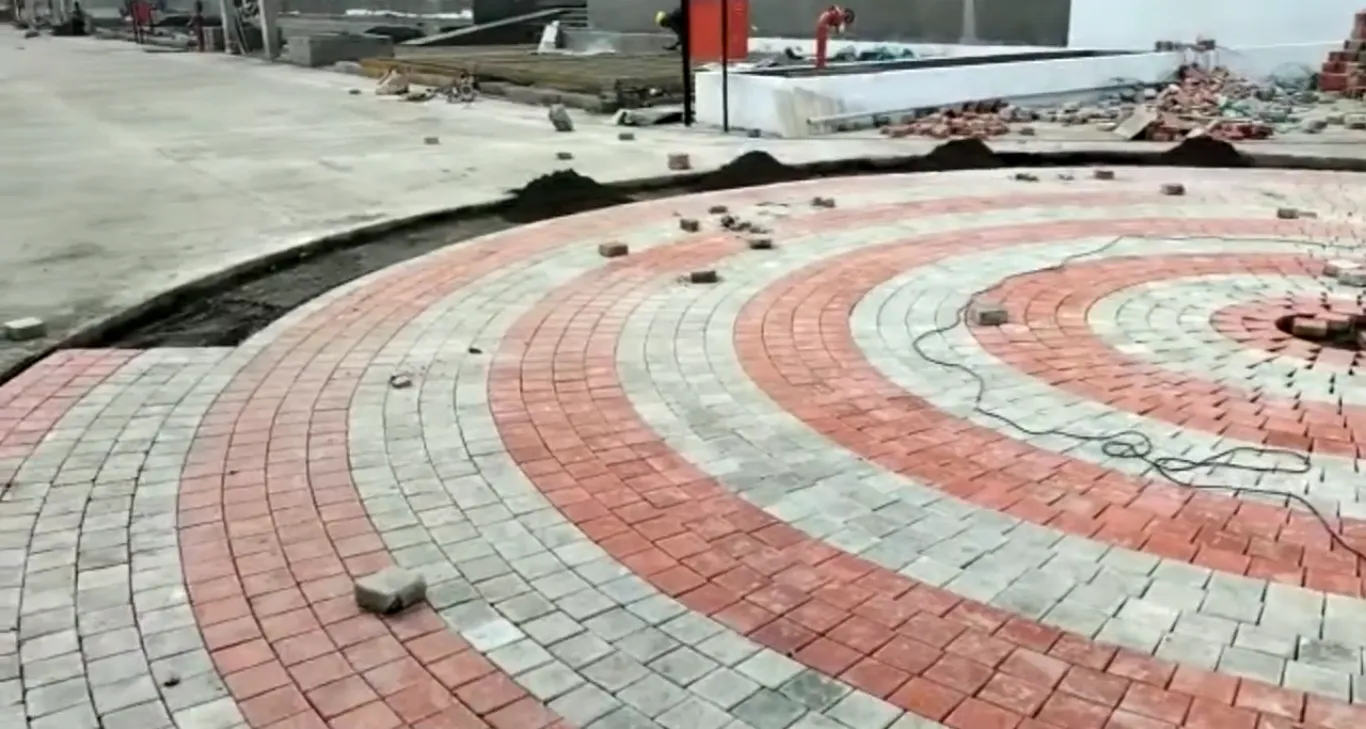
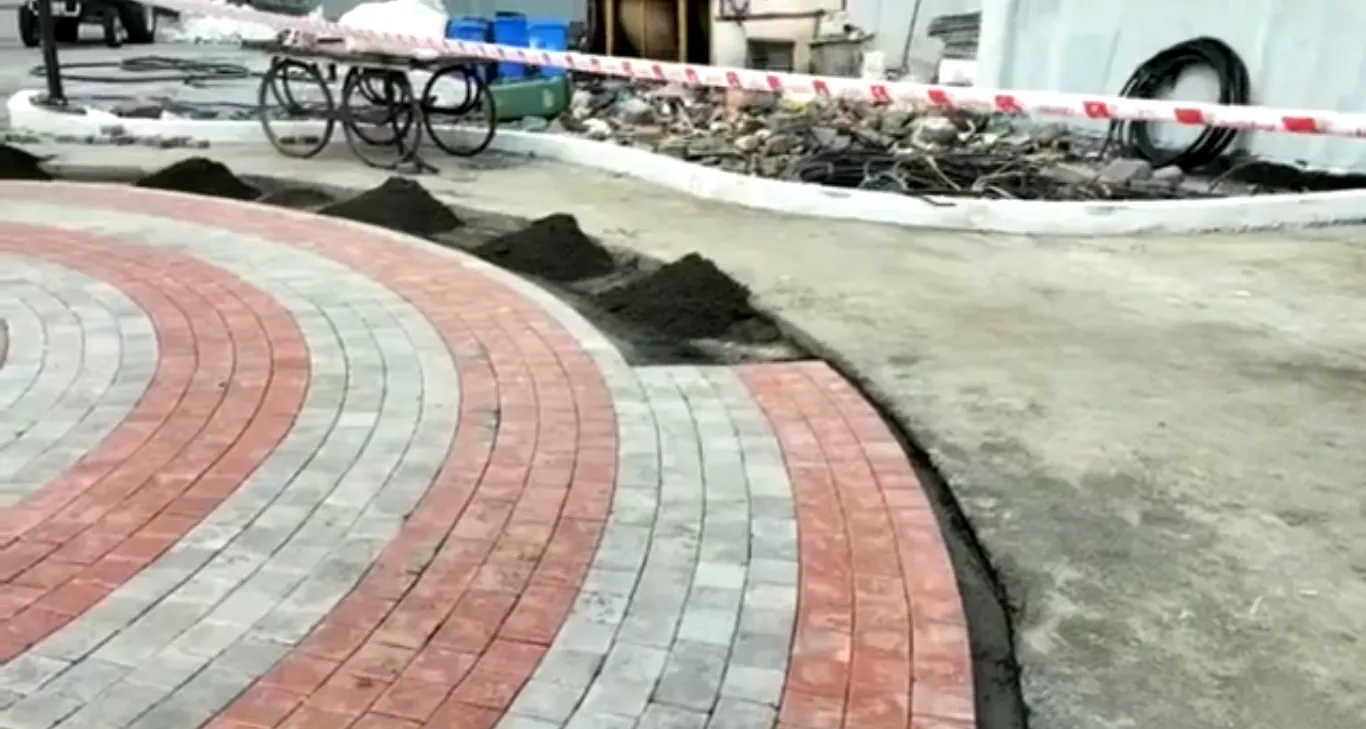
Learn how to fix interlock tiles in your garden or driveway with simple, expert tips. Follow this guide for a professional and long-lasting solution!
Introduction to Fix Interlock Tiles
Interlock tiles are a popular choice for patios, driveways, and pathways, thanks to their durability and aesthetic appeal. However, over time, these tiles may shift, crack, or sink due to weather, weight, or poor installation. Knowing how to fix interlock tiles can save homeowners and commercial property managers in Dubai both time and money. This article will provide simple steps, tips, and expert advice to restore your interlock tiles to their original condition.
Why Do Interlock Tiles Need Fixing?
Before diving into the repair process, it’s essential to understand why interlock tiles may need fixing in the first place:
Shifting
Interlock tiles can shift over time due to traffic or natural ground movement. This may lead to uneven surfaces and potential tripping hazards.
Cracks
Heavy loads or improper installation can cause individual tiles to crack. Replacing these tiles promptly will prevent further damage.
Sinking or Rising
Poor drainage or a weak base can cause interlock tiles to sink or rise unevenly. Addressing these issues is crucial to maintaining a smooth and functional surface.
Tools and Materials Needed
Here’s a list of tools and materials required for fixing interlock tiles:
- Rubber mallet
- Flathead screwdriver or pry bar
- Level
- Broom
- Sand (polymeric or joint sand)
- Compacting tool (manual tamper or plate compactor)
- Garden hose or watering can
Now that the essentials are ready, let’s get to the good part—repairing those pesky tiles!
Step-by-Step Guide on How to Fix Interlock Tiles
Step 1: Identify Problem Areas
First things first—walk around the affected area and identify the tiles that need fixing. Whether it’s cracked tiles, sunken spots, or shifting pavers, mark these problem areas clearly to make the repair process smooth and efficient.
Step 2: Remove Problematic Tiles
Using a flathead screwdriver or pry bar, gently lift the damaged or shifted tiles. Start from the edge and work your way toward the center to avoid damaging surrounding tiles. Once the problematic tiles are removed, set them aside for later use or replacement.
Step 3: Level the Base
After removing the affected tiles, check the base underneath. If the sand or gravel beneath has shifted or eroded, it’s essential to level it out. Add or remove base material as needed and use a level to ensure the surface is flat. This will prevent future sinking or shifting issues.
Pro Tip: Use a compacting tool to press the base material firmly in place. This step is crucial for creating a stable foundation for the interlock tiles.
Step 4: Reinstall the Tiles
Once the base is properly leveled, reinstall the original tiles or replace them with new ones if necessary. Start from the edge and work your way inward, ensuring each tile is snugly placed next to its neighbors. Use a rubber mallet to tap the tiles gently into place.
Step 5: Fill in the Gaps
Now that the tiles are back in place, it’s time to fill the joints with sand. Polymeric sand is ideal for this step, as it hardens when wet, creating a durable seal between the tiles. Spread the sand evenly across the surface using a broom, making sure it fills all the gaps.
Step 6: Compact the Tiles
After filling the joints with sand, it’s essential to compact the tiles once again. Use a manual tamper or plate compactor to press the tiles down and lock them securely in place. This step will ensure the tiles don’t shift or loosen over time.
Step 7: Wet the Sand
The final step is to wet the sand. Using a garden hose or watering can, lightly mist the surface to activate the polymeric sand. Be careful not to oversaturate, as this may wash away the sand. Once the sand has settled, your interlock tiles should be firm, secure, and ready to use.
Pro Tip: Don’t step on the freshly repaired area until the sand has completely hardened. This may take a few hours, depending on the weather.
Preventing Future Issues with Interlock Tiles
Fixing interlock tiles is one thing, but keeping them in pristine condition is another. Here are a few tips to prevent future issues:
- Regular Maintenance: Sweep the surface regularly to remove debris that could cause the tiles to shift.
- Proper Drainage: Ensure there is adequate drainage around your interlock tiles to avoid water pooling, which can lead to sinking or erosion.
- Seal the Tiles: Applying a sealant to your interlock tiles can protect them from harsh weather and extend their lifespan.
Conclusion
Knowing how to fix interlock tiles is essential for homeowners and commercial property owners in Dubai looking to maintain their outdoor spaces. With a bit of elbow grease and the right tools, these repairs can be completed quickly and efficiently. Don’t let uneven or cracked tiles ruin the look of your beautiful patio or driveway—take action today!
For professional help or further advice, contact KSA Landscape & Gardening L.L.C. at +971586915520. Whether it’s fixing tiles or designing your dream garden, we’ve got you covered!
FAQs About How to Fix Interlock Tiles
How often do interlock tiles need to be repaired?
Interlock tiles may need fixing every few years, depending on the amount of traffic and environmental conditions. Regular maintenance can reduce the frequency of repairs.
Can individual tiles be replaced without disturbing the entire area?
Yes, individual tiles can be removed and replaced without affecting the rest of the area. This is one of the advantages of using interlock tiles.
What type of sand should be used between interlock tiles?
Polymeric sand is the best option, as it hardens when moistened and provides a durable bond between the tiles.
Why are my interlock tiles sinking?
Sinking tiles are often the result of poor drainage or a weak base. Fixing the base layer and ensuring proper drainage can prevent sinking issues.
How can I prevent weeds from growing between interlock tiles?
Using polymeric sand between the tiles and applying a sealant can help prevent weeds from sprouting in the gaps.


