Learn how to implement an automatic irrigation system using soil moisture sensors for your garden or business. Efficient watering for thriving plants!
Introduction
Creating a vibrant garden in Dubai can be a challenge due to the region’s hot climate. Homeowners and businesses often struggle to maintain lush greenery without spending hours watering plants. Fortunately, an automatic irrigation system using soil moisture sensor can make this task easier and more efficient. This guide offers insights into setting up such a system, ensuring plants receive the right amount of water while conserving resources.
Understanding the Importance of Automatic Irrigation
An automatic irrigation system revolutionizes the way watering is approached. Here are a few reasons to consider this system:
-
Water Efficiency:
By using soil moisture sensors, the system waters only when necessary, preventing overwatering and conserving precious water resources.
-
Time-Saving:
With automation in place, watering becomes a worry of the past, allowing more time for enjoying the garden or running a business.
-
Healthier Plants:
Consistent moisture levels promote plant health and growth, leading to a vibrant landscape that catches the eye.
Components of an Automatic Irrigation System
Setting up an automatic irrigation system using soil moisture sensor requires several components. Below is a list of essentials to create a reliable and effective system.
Soil Moisture Sensor
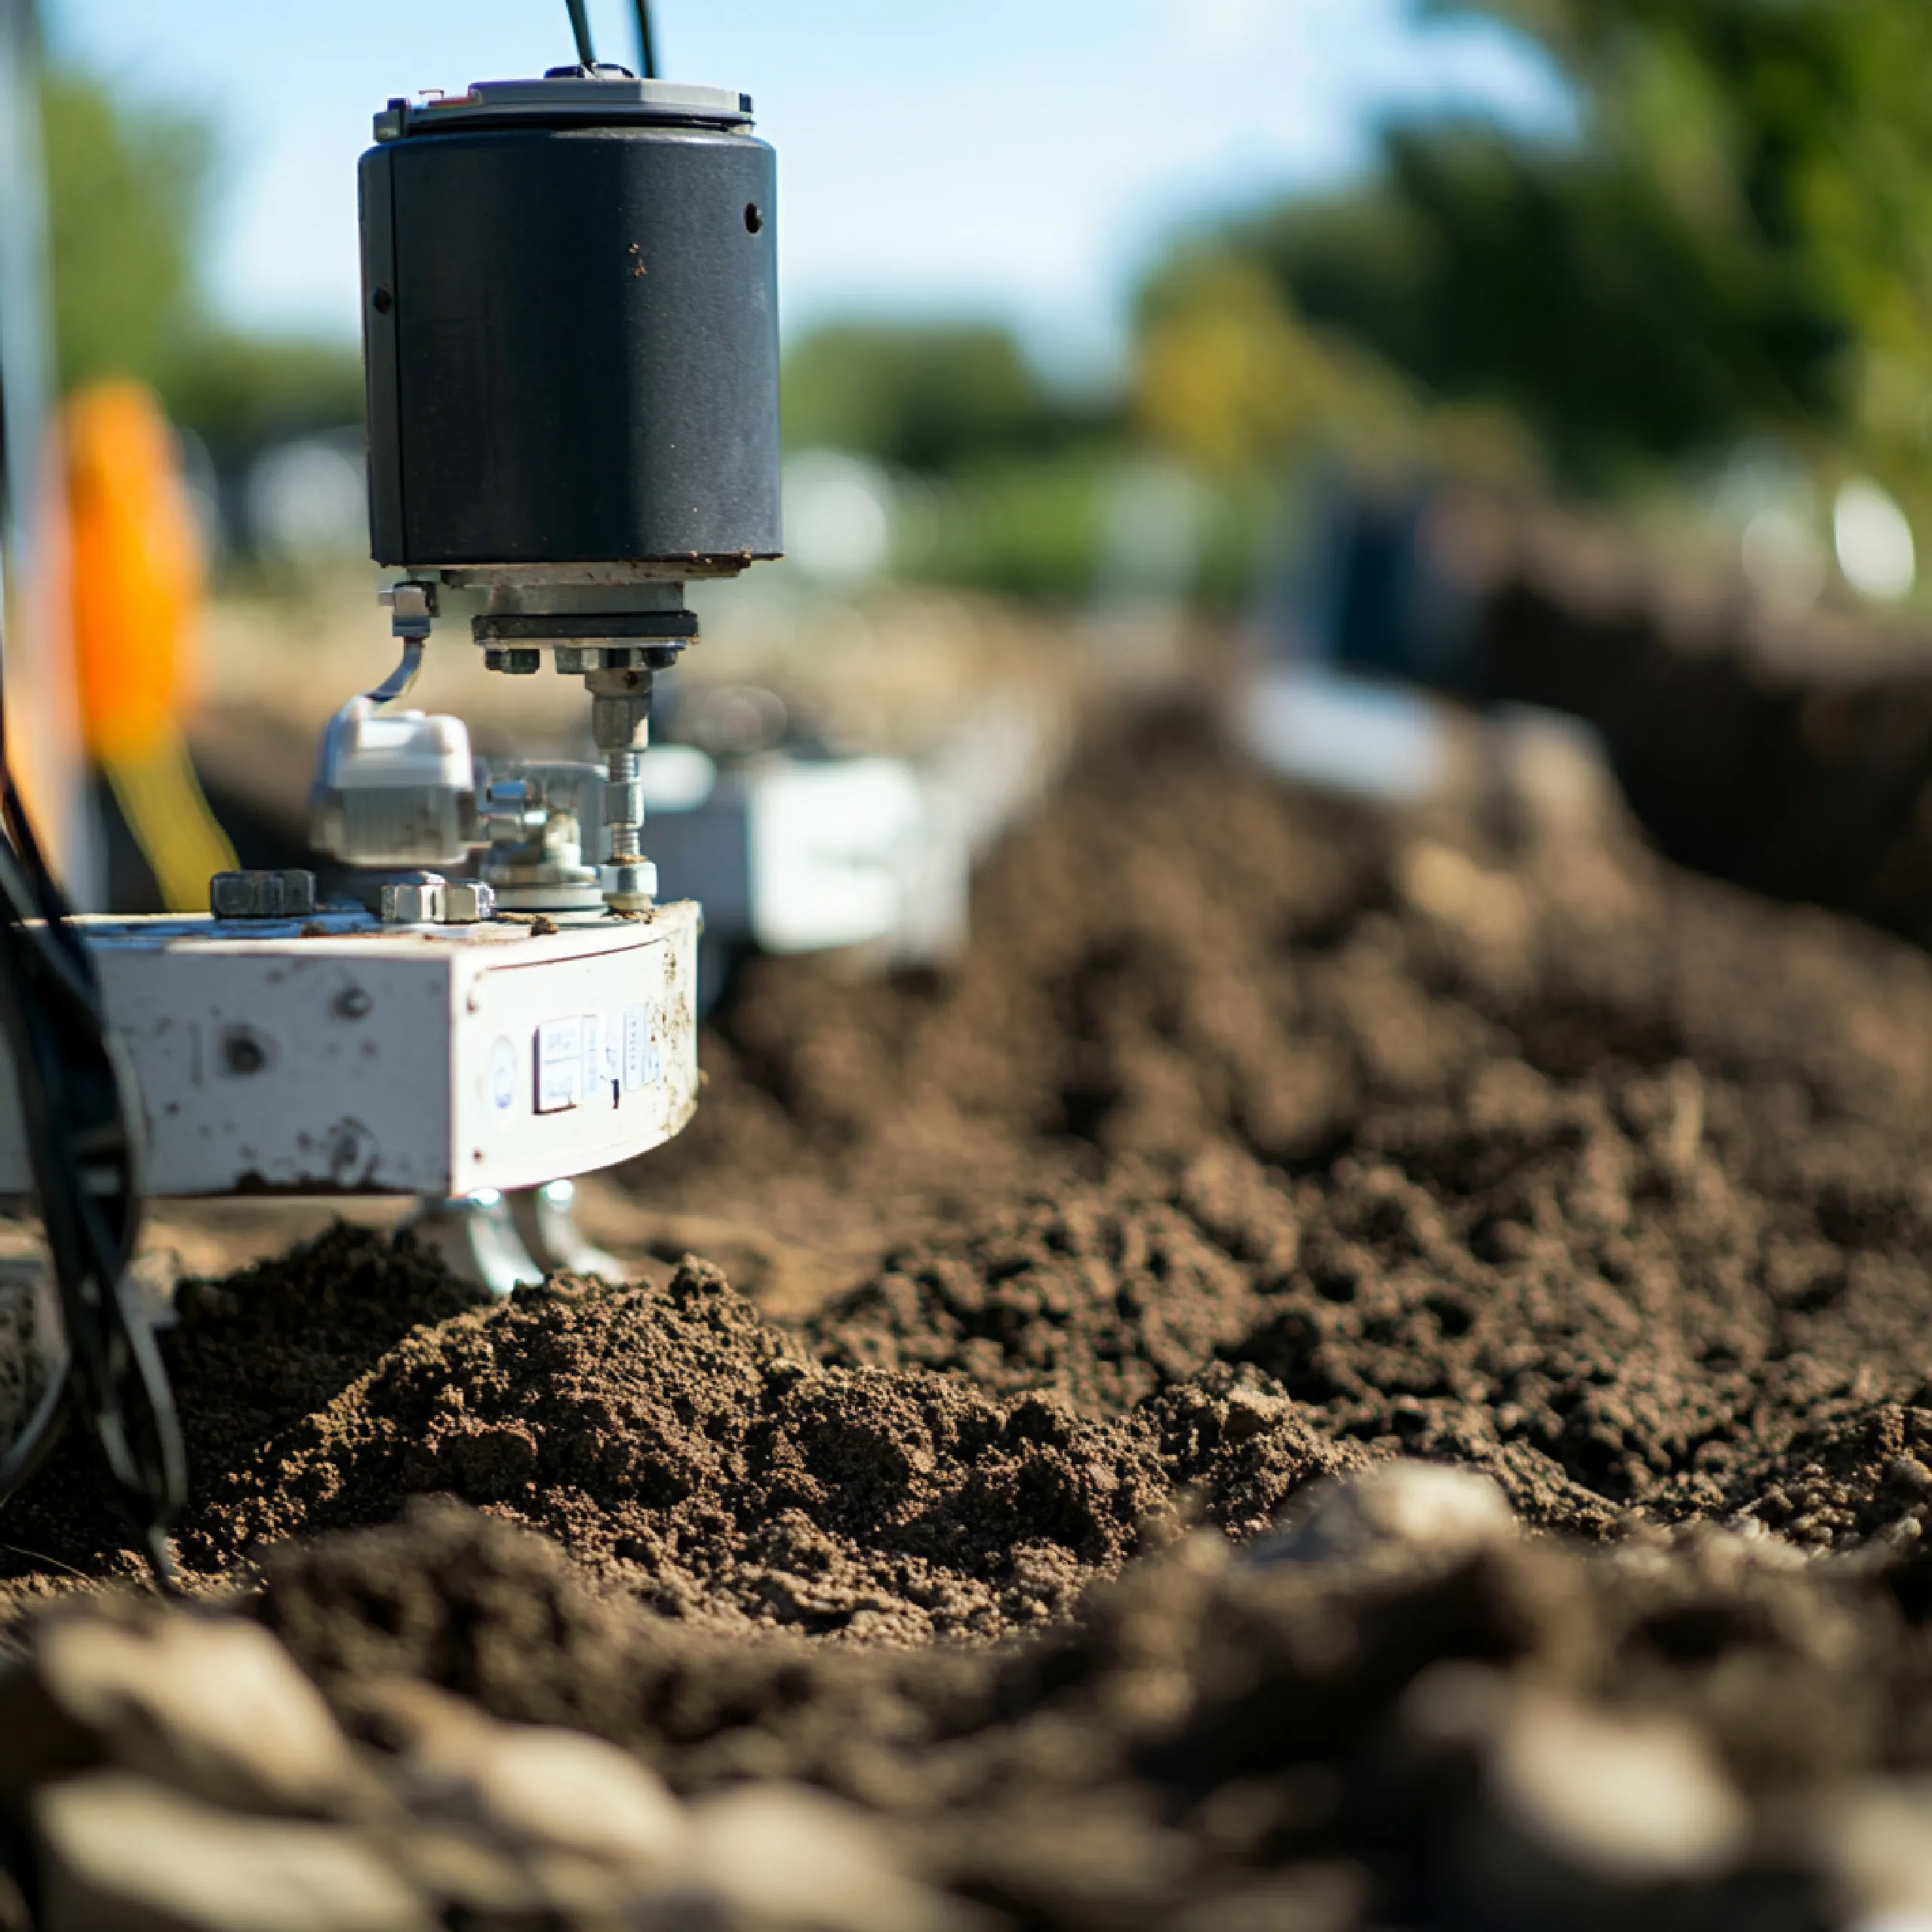
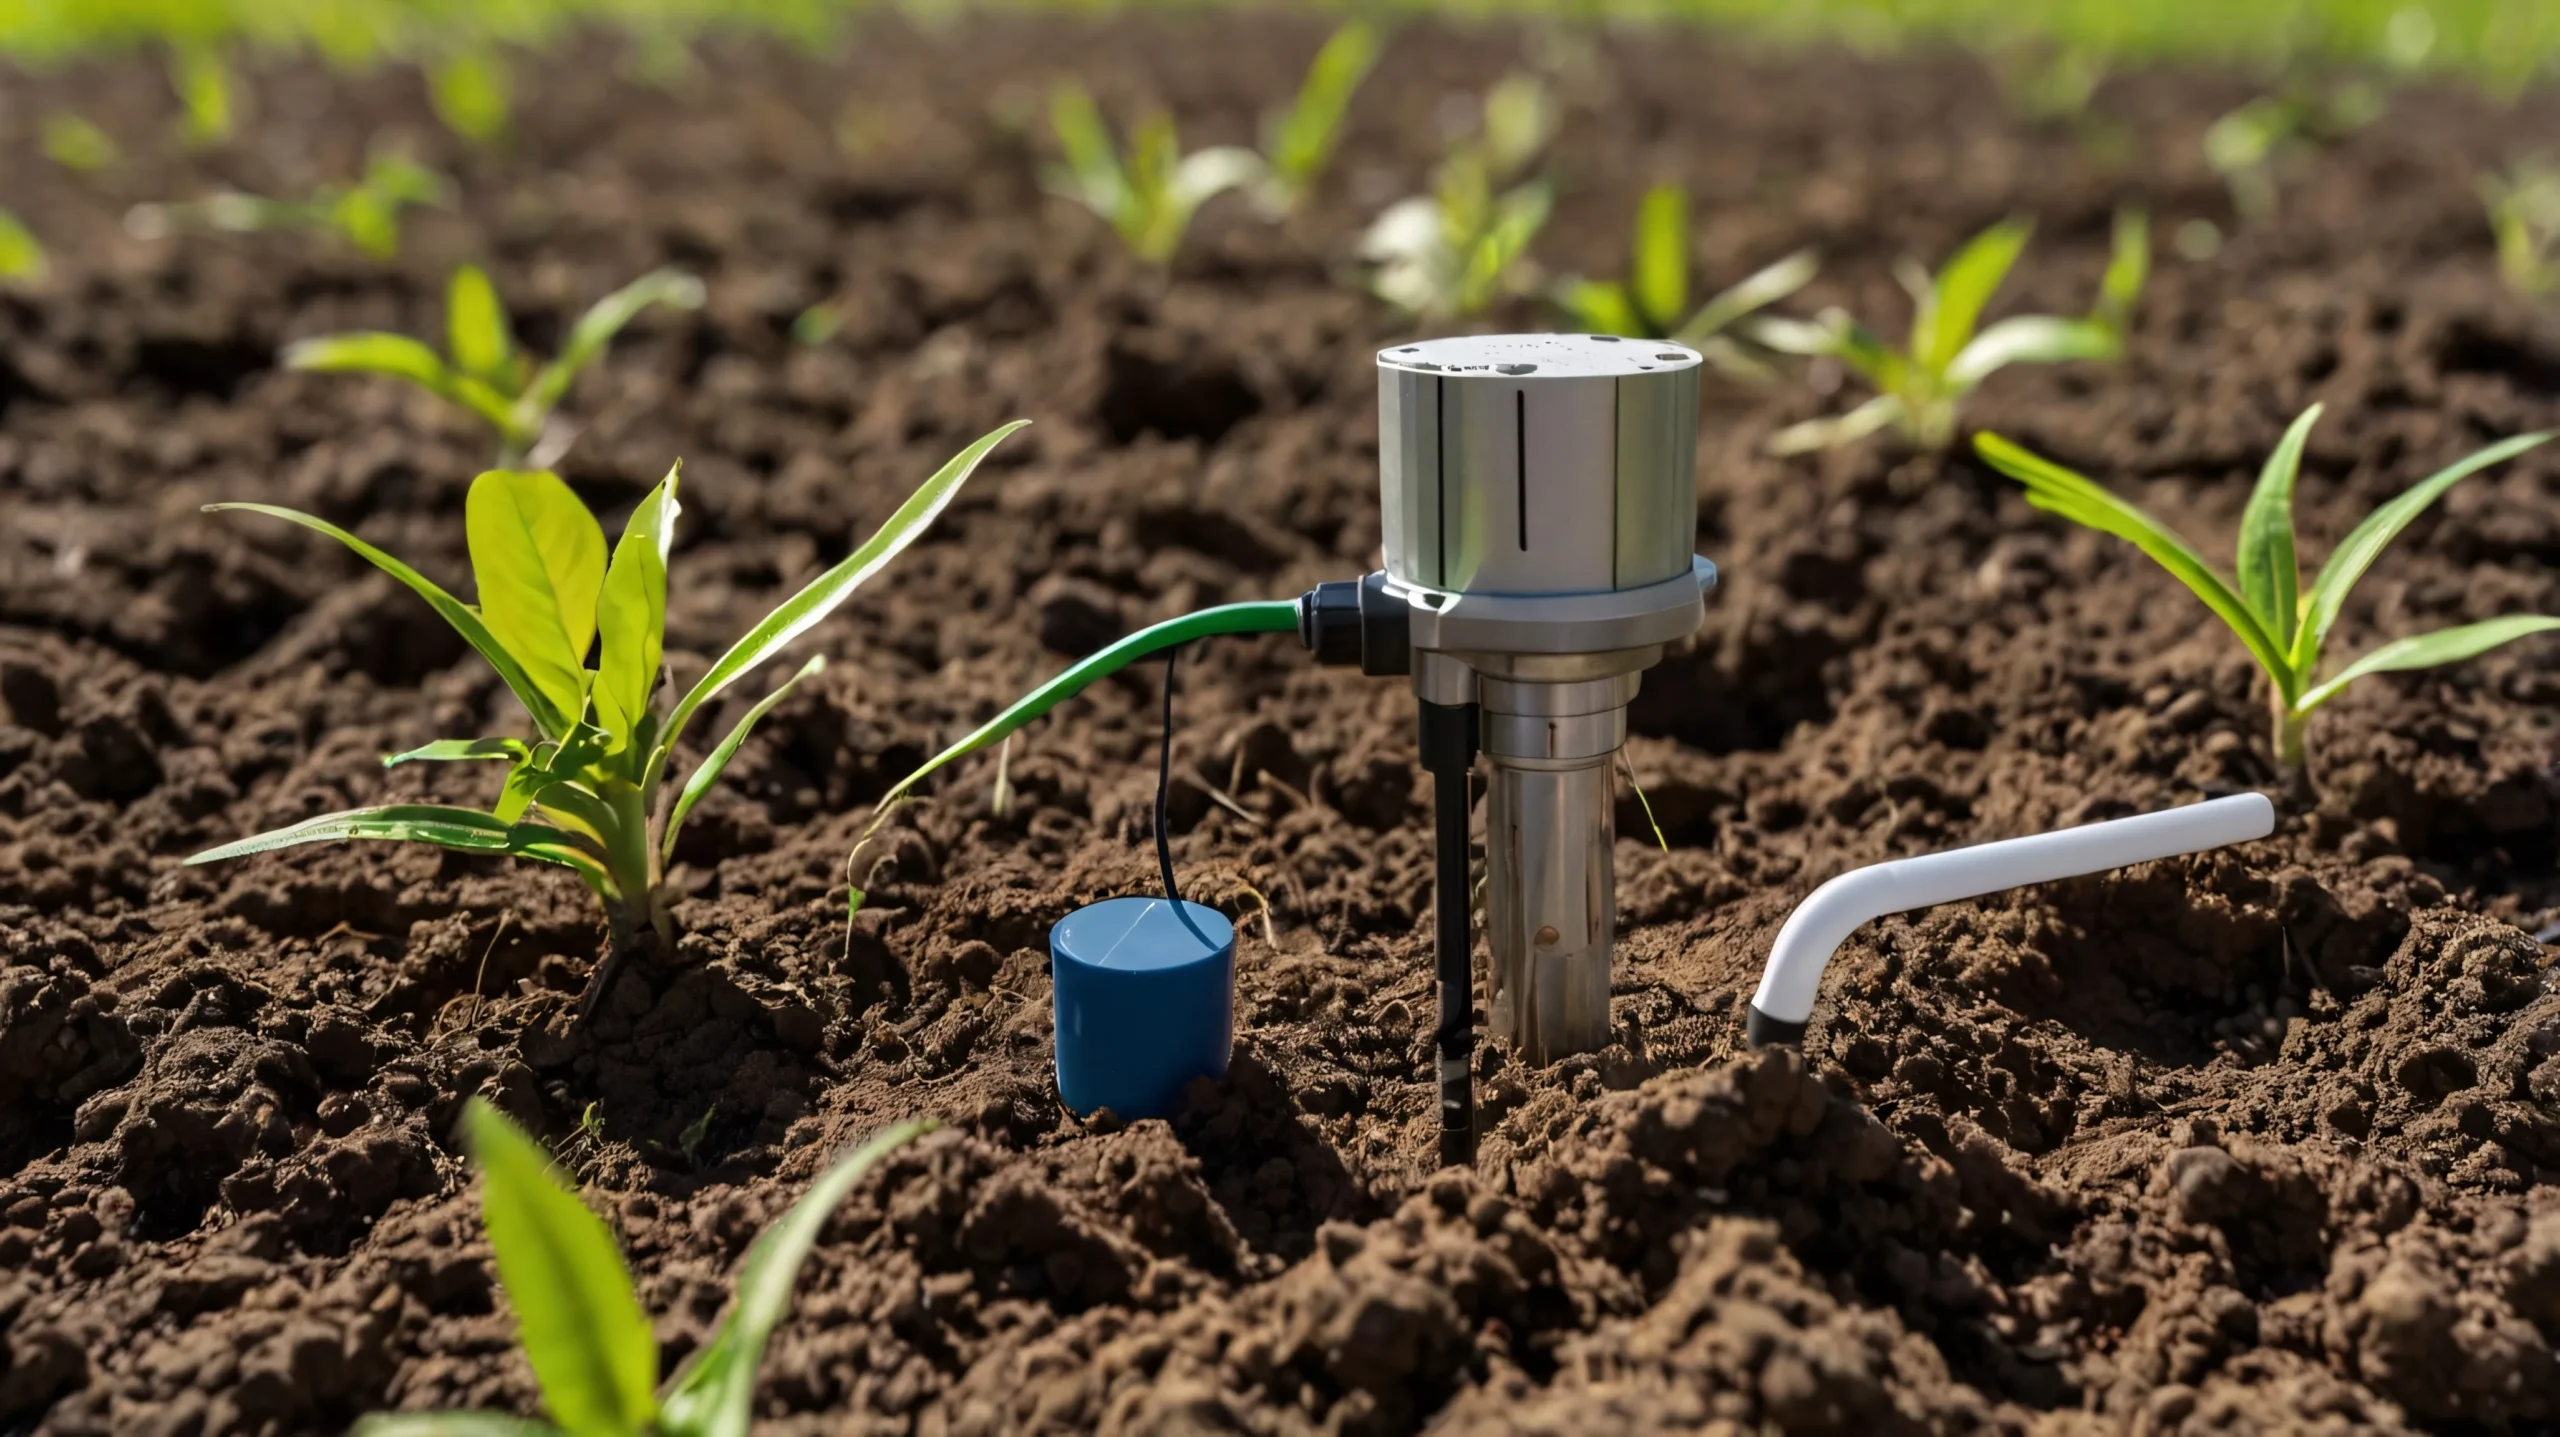
The heart of the system, this sensor monitors the moisture level in the soil. It sends signals to the irrigation controller to indicate when to water.
Microcontroller (e.g., Arduino or Raspberry Pi)
This acts as the brain of the system. It processes the data from the moisture sensor and makes decisions based on the readings.
Water Pump or Solenoid Valve
These components control the flow of water. The pump draws water from a source, while a solenoid valve regulates the water supply to the plants.
Irrigation Tubing and Emitters
These are necessary for distributing water to the plants. Properly laid out tubing ensures that every plant gets the moisture it needs.
Power Supply
Whether using batteries or a direct power source, it’s essential to provide power to the system components.
Controller Software
The software manages the system’s operations, including setting thresholds for moisture levels and scheduling watering times.
Setting Up the System
Establishing an automatic irrigation system using soil moisture sensor involves several steps, but it is straightforward and manageable. Follow the guide below to set up the system successfully.
Step 1: Assemble the Components
Gather all the necessary components listed above. Once everything is ready, it’s time to connect them. For simplicity, consider using a breadboard for initial testing before permanent installation.
Step 2: Connect the Soil Moisture Sensor
Attach the soil moisture sensor to the microcontroller. This sensor usually has two or three pins that need to be connected to the appropriate pins on the controller. Make sure to refer to the datasheet for accurate connections.
Step 3: Connect the Water Pump or Valve
Next, connect the water pump or solenoid valve to the microcontroller. This connection allows the controller to activate the pump based on moisture readings from the sensor.
Step 4: Install the Irrigation Tubing
Lay out the irrigation tubing around the garden or commercial property, ensuring it reaches all the plants. Install emitters at appropriate intervals to deliver water directly to the roots.
Step 5: Program the Microcontroller
Uploading the right code to the microcontroller is essential. The code should read the moisture levels from the sensor and activate the pump when the soil becomes too dry.
Step 6: Test the System
After programming, it’s time for a trial run! Place the soil moisture sensor in dry soil and observe the system. The pump should activate, watering the plants as needed. If the system is working properly, it’s time to set it up permanently.
Maintenance Tips for Your Automatic Irrigation System
Regular maintenance ensures the automatic irrigation system using soil moisture sensor runs smoothly and efficiently. Here are some tips:
-
Check Sensor Accuracy:
Periodically test the soil moisture sensor to ensure it’s providing accurate readings. A quick calibration can do wonders.
-
Clean the Pump and Filters:
Keeping the water pump and filters clean prevents clogs and maintains water flow. Regular checks can avoid unexpected dry spells in the garden.
-
Inspect Tubing for Leaks:
Examine the irrigation tubing for leaks or blockages. A small crack can lead to a big waste of water.
-
Monitor Weather Conditions:
Adjust the system based on seasonal changes and rainfall. Plants may need less water during cooler months.
Conclusion
An automatic irrigation system using soil moisture sensor provides an efficient, effective solution for maintaining gardens and landscapes in Dubai. By ensuring plants receive the right amount of water at the right time, this system conserves water and supports plant health.
For those looking to enhance their gardening experience, reach out to KSA Landscape & Gardening L.L.C. at +971586915520. Let’s make your landscape thrive while saving time and resources!
FAQs About Automatic Irrigation Systems
How does a soil moisture sensor work?
A soil moisture sensor measures the water content in the soil. When the moisture level falls below a specified threshold, it signals the irrigation system to activate.
Can this system be used for large areas?
Yes! The system can be scaled up by adding more sensors and pumps, ensuring efficient watering across larger landscapes.
What happens if the power goes out?
If the power goes out, the system will stop functioning. Consider using a backup battery to keep the system operational during outages.
How often should the system be tested?
Regular testing every few months is advisable to ensure the system operates correctly and efficiently.
Can the system be controlled remotely?
Yes! Many systems can be integrated with smart technology for remote access and control via mobile devices.


